
Blog
INA bearing assembly and disassembly: tools, steps and common errors that shorten service life
Practical guide to assembling and disassembling INA bearings without damaging them. Tools, steps and common errors in industrial maintenance.
INA bearings in Argentina: guide and quotes
Technical team at MR Accesorios Industriales · Updated on October 21, 2026
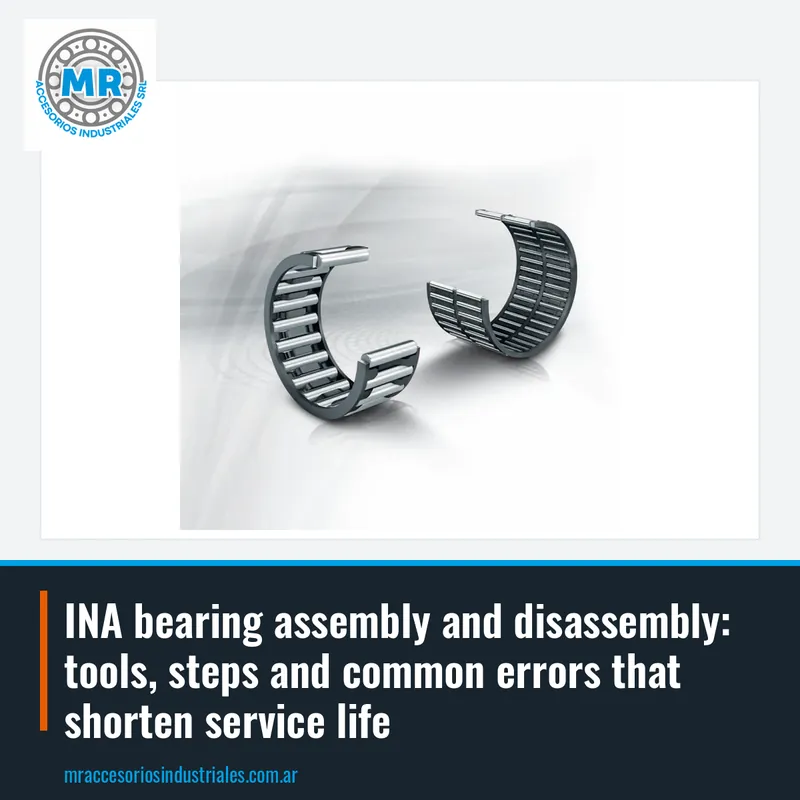
Basic principles of INA bearing assembly
Correct assembly of an INA bearing starts with understanding that force must never be transmitted through the rolling elements. If you strike the outer race to mount a bearing with a fit on the shaft, you can leave marks on the races or on the needles. Those marks generate vibration, noise and premature failures. Therefore, the golden rule is to apply force only on the race that is fitted.
Before mounting, clean the shaft and the housing with a lint-free cloth. Check that there are no burrs, dents or rust. A damaged seat misaligns the bearing and concentrates loads on a few rolling elements. In needle bearings such as NAO9, the cage is thin and sensitive to side impacts. Use a mounting tube with the appropriate diameter to push evenly.
Temperature is an ally when the fit is tight. Heating the bearing in a controlled way expands the ring and makes it easier to insert onto the shaft. Never use a direct flame: a heating plate or a controlled oil bath are safe methods. Cooling the shaft with dry ice also helps in large assemblies. After mounting, let the part return to room temperature before loading it.
Suitable tools for assembling and disassembling INA bearings
A mounting kit with tubes, bushings and a nylon hammer is the basis for working with small and medium bearings. The tubes must rest on the race that is fitted, never on the cage or the seals. An off-center blow can deform the ring and jam the bearing.
Two- or three-leg mechanical pullers are the classic tool for disassembly. The legs must grip the inner race or a solid surface of the component. In cam rollers, the outer ring is thick and can withstand puller extraction if it is supported at the center. Never use a lever against the outer race if the bearing is to be reused.
For repetitive assemblies, induction heaters are the cleanest and most controlled option. They heat only the inner ring without affecting greases or seals. In difficult disassemblies, hydraulic pullers and manual pumps provide controlled force without impacts. At MR we sell assembly and disassembly tools to accompany the INA bearings we distribute.
Assembly of INA needle bearings
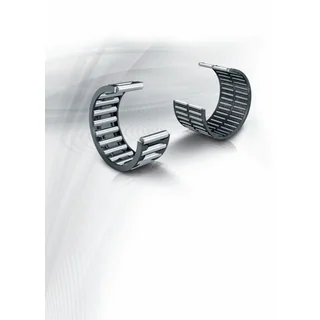
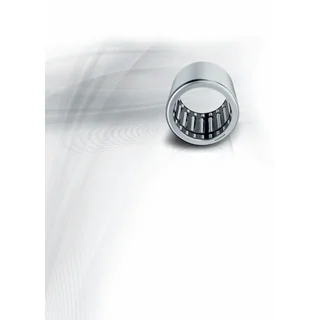
INA needle bearings have little radial space and require careful assembly. The shaft must be free of scratches and within the tolerance indicated by the catalog. An out-of-size shaft destroys the cage in a few hours. In the case of IR20, the inner ring is a separate race that is mounted first on the shaft. Then the needle and cage assembly is slid on.
The needle cage does not support axial loads, so assembly must be straight and without tilting. Use a bushing that pushes the cage by its outer edge, never by the needles. If the bearing comes with an outer ring, such as NAO9, the assembly is mounted complete in the housing. Check that the outer ring is not tilted: minimal misalignment concentrates the load at the ends of the needles.
After assembly, turning the shaft by hand should be smooth and without hard spots. A new needle bearing may feel a little firm due to the grease, but it should never jam. If you notice irregular resistance, disassemble and check whether any particle has entered. INA needle bearings are sensitive to contamination due to their small rolling element diameter.
Assembly of INA Y-bearings (inserts)
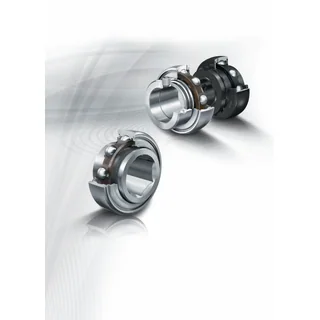
INA Y-bearings are mounted on shafts with a sliding fit or slight interference. The set screw or locking eccentric must be aligned with the notch on the inner ring. Tightening the set screw without aligning can scratch the shaft and misalign the bearing. Use an Allen key of the exact size so as not to round the screw.
The housing or plummer block must be well anchored and aligned with the shaft. A twisted housing forces the bearing to work with edge load. Y-bearings allow some initial misalignment, but that is no excuse for mounting them poorly. In vibrating applications, check that the set screw does not loosen: use a medium-strength threadlocker.
To disassemble a Y-bearing, first loosen the set screw and clean the shaft with fine sandpaper if there are burrs from tightening. Then use a two-leg puller gripping the inner ring. Never strike the outer ring to remove it: you can damage the races and the seal. At MR we distribute INA Y-bearings and advise you on correct assembly for your application.
Assembly of INA cam and support rollers
INA cam rollers, such as KR40, have a thick outer ring that rolls on a track or cam. Assembly is done through the central stud, which usually has a thread or through hole. Tightening the stud with excessive torque deforms the inner ring and jams the bearing. Respect the torque indicated in the catalog and use support washers if the surface is soft.
The running track of the outer ring must be clean and free of oil if it runs dry. In lubricated applications, check that the lubricant reaches the contact area. A cam roller with excessive axial play indicates internal wear or poor assembly.
To disassemble, loosen the central stud and use a puller if the roller is fitted in the housing. If the roller rotates on a shaft, remove the shaft with a soft drift. Never strike the outer ring: the marks transfer to the cam and generate noise. INA cam rollers are precision components that deserve careful handling.
Assembly of INA cylindrical roller thrust bearings
INA cylindrical roller thrust bearings support axial loads in one direction. They consist of shaft washers, housing washers and a cage with rollers. Assembly requires that the washers be perfectly perpendicular to the shaft. A tilted washer loads the rollers unevenly and reduces service life. The shaft washer, such as GS81102, must rest on a ground shoulder.
The cage with rollers is placed between the two washers, respecting the direction of the load. Cylindrical rollers do not tolerate angular misalignment: if the shaft and housing are not aligned, the rollers skid and wear quickly. Check the axial play after assembly: it must be the one indicated for the application. Excessive play allows knocking; insufficient play causes overheating.
To disassemble, first remove the housing washer and then the cage. The washers are usually fitted, so use a puller or a soft drift if there are extraction holes. Never use a chisel between the washers: you can scratch the races. At MR we sell INA cylindrical roller thrust bearings such as GS81120 and help you choose the correct play.
Common errors that shorten the service life of an INA bearing
The most frequent error is striking the bearing directly with a metal hammer. Even if it seems to have gone in well, the internal marks are invisible and doom the part. Another error is using a mounting tube that rests on the cage or the seals. In needle bearings, the cage is fragile and deforms with little force. Always use a bushing that touches only the fitted race.
Contamination is another silent enemy. A dust particle between needle and race acts as an abrasive. Work in a clean environment and do not remove the wrapper until the moment of assembly. In Y-bearings, tightening the set screw without aligning it with the notch is a classic error that scratches the shaft and misaligns the bearing. Take the time to align it well.
Not lubricating after assembly or using an incompatible grease also shortens life. INA bearings come with factory grease for standard applications, but if conditions are severe, consult us. At MR we advise you on the right grease and quote INA bearings with the code or size you need.
Frequently asked questions
How is an INA needle bearing assembled?
The inner ring (if it has one) is mounted on the shaft, then the cage with needles is slid on and finally the outer ring in the housing. Force must be applied only on the fitted race, never on the needles or the cage.
What tools are needed to disassemble an INA bearing?
It depends on the type and size. For small bearings, a two- or three-leg puller and a soft drift are enough. For difficult disassemblies, hydraulic pullers provide controlled force without impacts.
Can an INA bearing be heated for assembly?
Yes, heating the bearing in a controlled way expands the inner ring and facilitates assembly on shafts with tight fits. Never use a direct flame; use a heating plate or a controlled oil bath.
What errors shorten the service life of an INA bearing?
Striking the bearing with a metal hammer, using mounting tubes that rest on the cage, contaminating with dust, tightening set screws without aligning and not lubricating correctly are the most common errors.
Where can I get a quote for INA bearings in Argentina?
At MR Accesorios Industriales, from Buenos Aires, Argentina, we sell and distribute INA bearings. Send us the code, size or a photo of the part via WhatsApp or email and we will quote you promptly.
Products with photos in the catalogue
Keep reading
- INA in Argentina: product guide, applications and how to get a quote
Discover the INA bearing lines that MR distributes in Argentina: needle, Y inserts, cam rollers, thrust and more. Learn their uses and get a quote by code.
- How to Read INA Codes: Designation Structure, Prefixes, Suffixes, and Real Examples
INA codes follow a clear logic: each letter and number describes the bearing type, dimensions, and features. In this guide, we explain how to interpret them and show concrete examples from the line we distribute.
- INA Bearings: Where They Are Used, How to Select Them, Mounting and Maintenance
Discover the typical applications of INA bearings in industry, how to choose the right model based on load and mounting, and the maintenance practices that extend their service life.
Continue here
Need a quote?
Send us the code, size or a photo of the part and we'll quote you shortly.