
Blog
Sealmaster assembly and disassembly: tools, steps, and common mistakes that shorten service life
Correct assembly and disassembly of Sealmaster bearings defines how long they last in service. We explain the tools you need, the steps to follow, and the mistakes that most shorten service life.
SEALMASTER catalog by part number
Technical team at MR Accesorios Industriales · Updated on October 24, 2026
Why correct assembly and disassembly defines service life
Sealmaster assembly and disassembly is a task that seems simple but hides many details. A well-installed bearing can work for a long time without problems, while a poorly assembled one can fail much earlier. The difference is in the technique, the tools, and the care you put into each step.
Sealmaster bearings are used in equipment of all kinds: conveyors, fans, pumps, agricultural machinery, and more. In all cases, incorrect assembly is one of the main causes of premature failure. Therefore, it is advisable to follow an orderly procedure and use the right tools.
In this guide we show you how to assemble and disassemble the different types of Sealmaster bearings: Y inserts, spherical roller bearings, and complete housings. We also tell you the most common mistakes and how to avoid them so your bearing works smoothly.
Tools needed for a neat assembly
To assemble a Sealmaster bearing you don't need a workshop full of special tools, but you do need some basic ones. A set of Allen and open-end wrenches, a rubber or nylon hammer, and a tube or bushing of the right diameter to strike evenly are essential. It is also advisable to have a caliper to verify measurements.
If you are going to work with large bearings or with firmer fits, a mechanical or hydraulic puller will simplify the task. To heat bearings before assembly, a heating plate or an induction heater are very useful.
Never use a steel hammer directly on the bearing, because you can mark the raceways or break the seals. Nor should you strike the cages or rolling elements: the force must always be applied to the ring that is being fitted. If the fit is on the shaft, strike the inner ring; if it is in the housing, strike the outer ring.
Assembly of Sealmaster Y-bearings (inserts)
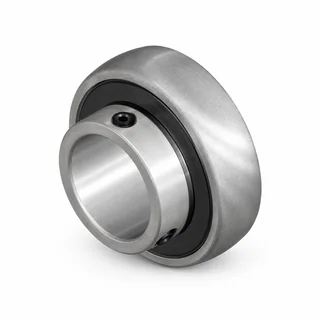
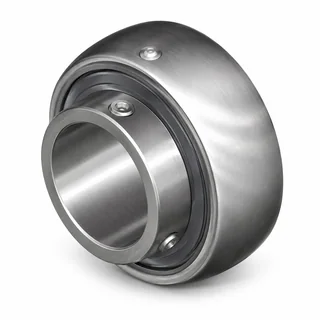
Sealmaster Y-bearings, such as MH-19 or MH-23, are mounted on shafts with a sliding fit or with set screws. Before assembly, verify that the shaft is clean, free of burrs and dents, and that the diameter is correct. If the fit is with screws, align the holes in the inner ring with the set screws and tighten them in a cross pattern.
One of the advantages of Y inserts is that they allow some angular misalignment thanks to their spherical outer shape. However, that does not mean you can mount them crooked: the housing must be well aligned with the shaft. If the housing is misaligned, the bearing will work under stress and wear prematurely.
To disassemble a Y insert, first loosen the set screws and then slide the bearing along the shaft. If it is very tight, use a two- or three-jaw puller bearing on the inner ring. Never strike the outer ring to remove it, because you can damage the raceways and rolling elements.
Assembly of Sealmaster spherical roller bearings
Sealmaster spherical roller bearings, such as PN-204 or PN-206, are used in applications with heavy loads and significant misalignment. Their assembly requires more care because the inner ring usually has a firm fit on the shaft. Ideally, heat the bearing to a controlled temperature to expand the inner ring and slide it on without effort.
If you have no way to heat it, you can use a tube that bears only on the inner ring and strike gently and evenly. Never strike the outer ring or the cage, because you can deform the raceways and ruin the bearing. After assembly, verify that the bearing rotates freely and without strange noises.
To disassemble a spherical roller bearing, use a hydraulic or mechanical puller that grips the inner ring. If the bearing is to be reused, do not apply force to the outer ring or the rolling elements.
Assembly of Y-housings with insert bearing
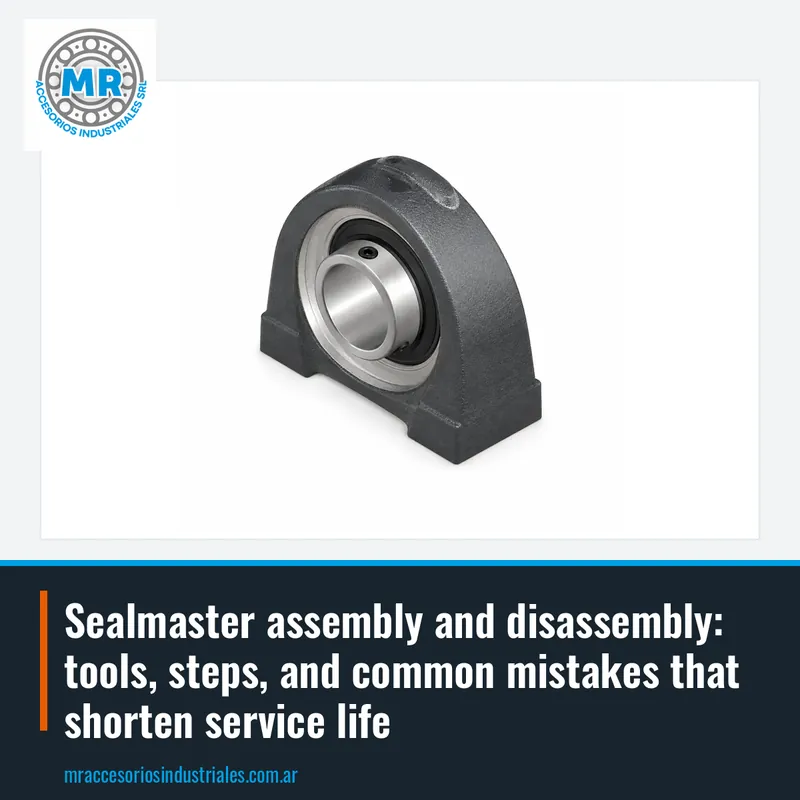
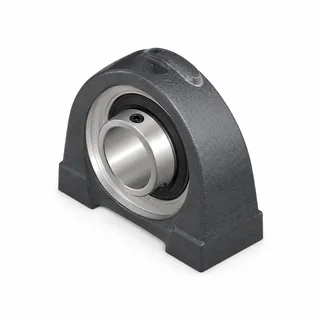
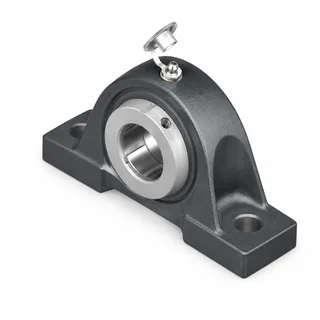
Y-housings with insert bearing, such as TBMH-27 or SFMH-24, combine a cast iron housing with a Y-bearing. Assembly is simple: first fix the housing to the structure with the corresponding screws, without tightening them fully. Then slide the bearing onto the shaft until it is centered in the housing.
Once the bearing is in position, tighten the set screws of the inner ring against the shaft. Then tighten the housing screws to the structure. It is important that the housing is not forced: if the base is not flat, the housing can deform and the bearing will work under uneven loads.
To disassemble, loosen the set screws and slide the bearing out of the housing. If the bearing is very tight on the shaft, use a puller. If the housing is damaged or very worn, it is advisable to replace it together with the bearing to ensure good seating. At MR we quote the complete assembly or the parts separately.
Assembly of Sealmaster housings
Sealmaster housings, such as PN-22T or PN-32T, allow the bearing to be housed and fixed to the machine. Mounting the housing itself is simple, but you must pay attention to alignment. If you are going to mount two housings on the same shaft, use a straightedge or a string to verify that they are aligned.
A common mistake is to tighten the housing screws before mounting the bearing on the shaft. That can cause the bearing to be off-center and work under stress. The correct procedure is to mount the bearing on the shaft, position it in the housing, and only then tighten the housing screws to the structure.
To disassemble a housing, first remove the bearing from the shaft and then loosen the housing screws. If the housing is very rusty or the screws are seized, use a penetrating oil and let it act for a few minutes. Never strike the housing with a steel hammer to remove it, because you can break the casting.
Common mistakes that shorten service life
The most common mistake is striking the bearing in the wrong place. If the fit is on the shaft, the force must be applied to the inner ring; if it is in the housing, to the outer ring. Striking the rolling elements or the cage damages the raceways and causes vibrations and premature noise.
Another frequent mistake is not cleaning the shaft before assembly. Dirt, rust, or burrs can scratch the inner ring and create stress concentration points. It is also a mistake not to verify the fit: a fit that is too loose allows the ring to rotate on the shaft and wear both; one that is too tight can break the ring during assembly.
Finally, not lubricating correctly after assembly is a classic cause of failure. In applications with high loads or elevated temperatures, lubrication should be checked periodically. Use the grease recommended for the application and do not mix greases with different bases.
Frequently asked questions
How do you mount a Sealmaster bearing on a shaft?
It depends on the type of bearing. Y inserts slide onto the shaft and are fixed with set screws. Spherical roller bearings usually have a firm fit, so it is advisable to heat the bearing or use a tube that bears on the inner ring. Always clean the shaft and verify the measurements before mounting.
What tools do I need to disassemble a Sealmaster bearing?
To disassemble a Sealmaster bearing you need a mechanical or hydraulic puller, Allen or open-end wrenches to loosen set screws, and sometimes a rubber hammer and a tube to strike evenly. Never use a steel hammer directly on the bearing.
What are the most common mistakes when mounting bearings?
The most common mistakes are striking the bearing in the wrong place, not cleaning the shaft, not verifying the fit, forcing the housing, and not lubricating correctly after assembly. All these mistakes shorten the bearing's service life.
Can I reuse a Sealmaster bearing after disassembling it?
Yes, provided that disassembly is done with the right tools and without damaging the raceways or rolling elements. If the bearing was failing or was disassembled with blows, it is advisable to replace it. At MR we quote the exact replacement according to the code or measurements.
Where can I get tools for bearing assembly and disassembly?
Write to us via WhatsApp or email with the bearing code, measurements, or a photo and we will quote what you need for your assembly promptly.
Products with photos in the catalogue
Keep reading
- Sealmaster Housings: Maximum Protection and Performance in Demanding Industrial Environments
Sealmaster housings combine robust housings and insert bearings with superior sealing to resist contamination, moisture, and heavy loads. Learn about the PN Gold, USRB, and Material Handling series and how to choose the right model.
- Sealmaster Codes: How to Read Housing and Bearing Designations
Sealmaster codes follow a clear logic: each letter and number indicates housing type, series, size or feature. We explain how to interpret them with real examples.
- Sealmaster: applications, selection and maintenance for lasting performance
Practical guide on Sealmaster bearings and housings: which industries use them, how to choose the right model, and what care ensures a long service life.
Continue here
Need a quote?
Send us the code, size or a photo of the part and we'll quote you shortly.