
Blog
Ruadigon coupling assembly and disassembly: step-by-step maintenance guide
We explain how to assemble and disassemble Ruadigon elastic band couplings, which tools to use and which mistakes to avoid to extend their service life.
RUADIGON catalog by part number
Technical team at MR Accesorios Industriales · Updated on October 25, 2026
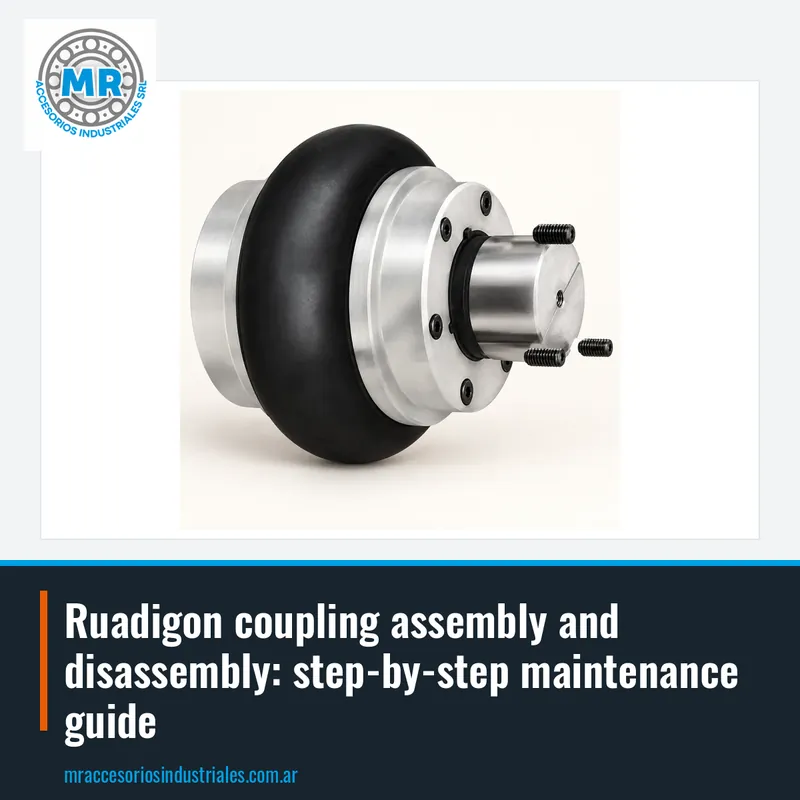
What Ruadigon couplings are and what they are used for
Ruadigon couplings are power transmission elements that join two shafts to transfer rotational motion from one piece of equipment to another. In particular, the elastic band models, such as X-2, X-4 and X-5, are designed to absorb small misalignments between shafts.
They are used in industrial machinery transmissions, where the elastic band acts as a flexible element between the two hubs and helps compensate for small misalignments between the shafts.
To identify a Ruadigon coupling on a machine, look for the brand and code, such as X-2, X-4 or X-5, on the coupling. If you have doubts, you can take a photo and send it to us by WhatsApp or email so we can help you identify it.
Tools needed for assembly and disassembly
To assemble or disassemble a Ruadigon elastic band coupling, basic workshop tools are enough: wrenches for securing the hubs, a jaw puller to remove them if they are tight, and a caliper to verify the shaft and hub bore dimensions.
Before starting, make sure the equipment is switched off and electrically locked out to prevent accidental starts. Clean the work area and check that there is no debris between the hub faces and the elastic band. If you are going to replace the band, have the new one on hand and verify that it is the same code as the original. For example, if the coupling is an X-4, the band must be for X-4.
A common mistake is using hammers or impacts to install the hubs, which can damage the parts or misalign the coupling. Always respect the tightening torque recommended by the manufacturer for securing the hubs.
Steps to assemble a Ruadigon elastic band coupling
Assembly begins with preparing the shafts: clean the surfaces where the hubs will seat thoroughly and check that they have no burrs or rust. Slide one hub onto each shaft to the desired position, leaving a small gap between the inner faces of the hubs. Respect the gap between the hub faces indicated by the manufacturer and secure each hub to the shaft according to its fastening system.
Once the hubs are secured, place the elastic band between them. Make sure it seats properly in the recesses of both hubs. Do not force the band with sharp tools, because you can deform it.
After assembling the band, turn the coupling by hand to verify that there is no rubbing or binding. If everything turns freely, align the shafts as well as possible using a dial indicator or straightedge. The elastic band tolerates small misalignments, but excessive misalignment reduces its service life. Finally, start the equipment and observe whether there are abnormal vibrations or noises. If something does not sound right, stop and check the installation.
Steps to disassemble a Ruadigon coupling without damaging it
To disassemble the coupling, first remove the elastic band. Release it from the hub recesses without forcing it or using sharp tools. Store the band in a clean, dry place if it is going to be reused. If it is damaged or deformed, replace it.
Then loosen the hub fastening. If they are very tight or rusty, apply a penetrating oil and let it act for a few minutes. Use a jaw puller to remove the hubs from the shafts, resting the jaws on the rear of the hub and the center screw against the shaft end. Turn the puller screw evenly so the hub comes out straight. Avoid hitting the hubs with a hammer, because you can deform the bore.
Once disassembled, clean all parts and check their condition. Measure the shaft diameters and hub bores to detect wear. If you are going to reuse the coupling, verify that the hubs and band are not damaged. If you find cracks, deformations or severe corrosion, it is time to request a replacement quote. At MR we help you get the exact Ruadigon coupling for your equipment.
Common mistakes that shorten coupling service life
One of the most frequent mistakes is forcing the elastic band during assembly. If the band is deformed or damaged with a tool, it can fail prematurely. Another mistake is not aligning the shafts: although the band tolerates small misalignments, working with excessive misalignment reduces the coupling service life and can damage the equipment bearings.
It is also common to overtighten or undertighten the hub fastening: if it is loose, the hub can slide on the shaft and wear it. Another mistake is not checking the band condition periodically. Visual inspection of the coupling is recommended at every maintenance stop.
Finally, using a coupling of the wrong size for the application is a common cause of failures. If the demand exceeds the coupling capacity, the band can fail. That is why it is important to know the exact coupling code, such as X-2, X-4 or X-5, and verify that it is suitable for the equipment power. If in doubt, consult us with your machine data and we will guide you.
How to identify the correct Ruadigon coupling for your equipment
To order a replacement Ruadigon coupling, you need to identify the exact code. Codes such as X-2, X-4 and X-5 correspond to different models. If the code is not legible, you can measure the hub bore diameter and the overall coupling length. With those measurements and a photo we can identify the model.
Another way to identify it is to compare with the manufacturer catalog, which lists the dimensions and capacities of each series. If you have the equipment manual, it usually indicates the type of coupling used. You can also take photos of the installed coupling and send them to us by WhatsApp or email. MR is an official Ruadigon distributor: send us the code, the measurement or a photo and we will quote you.
It is important not to confuse elastic band couplings with other types of couplings, such as gear couplings or rigid couplings. Each has different characteristics and they are not interchangeable. If you replace a coupling with one of a different type, you can alter the dynamic behavior of the equipment. Therefore, it is always best to keep the same model and brand, unless a redesign justifies it.
Preventive maintenance and when to replace the elastic band
Preventive maintenance of the Ruadigon coupling is simple and extends its service life. Visual inspection of the elastic band is recommended every time equipment maintenance is performed. Look for signs of wear, deformation or damage. Also check the hub fastening and shaft alignment. If you detect vibrations or new noises, inspect the coupling immediately.
The elastic band is the component that wears the most and must be replaced when it shows signs of fatigue. Do not wait for it to break, because a sudden failure can damage other transmission components. As a general rule, if the band is damaged or deformed, it is time to change it. Keep in mind that service life depends on operating conditions: load, speed and alignment.
To replace the band, follow the disassembly and assembly steps described above. Make sure to use a Ruadigon band with the same code as the coupling. At MR we quote the elastic band for your X-2, X-4 or X-5 coupling, and also the complete coupling if you need it.
Frequently asked questions
How is a Ruadigon elastic band coupling assembled?
It is assembled by sliding the hubs onto the shafts, securing them and then placing the elastic band between them, properly seated in its recesses. It is important not to force it with sharp tools and to verify final alignment.
What tools do I need to disassemble a Ruadigon coupling?
You need wrenches for the hub fastening, a jaw puller to remove them and, if there is rust, a penetrating oil. Avoid using hammers to prevent damaging the parts.
How often should I replace the coupling elastic band?
It depends on use, but inspection is recommended at every maintenance. If it is cracked, hard or has broken teeth, it must be replaced. Do not wait for it to break to avoid major damage.
How do I identify the code of my Ruadigon coupling?
The code is engraved on the hub or on the band, for example X-2, X-4 or X-5. If it is not legible, measure the hub bore and the overall length, and send us a photo by WhatsApp or email.
Can I use a generic elastic band on a Ruadigon coupling?
It is always advisable to use the Ruadigon band with the same code as the coupling.
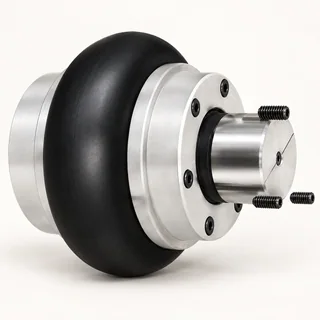
Products with photos in the catalogue
Keep reading
- Ruadigon in Argentina: complete guide to elastic couplings
Ruadigon is a brand of elastic couplings sold in Argentina. In this guide we review its product lines, typical applications, and how to get a quote by code.
- Ruadigon Codes: How to Read Coupling Designations
Practical guide to interpreting Ruadigon codes on elastic couplings. Understand the structure, prefixes, suffixes and real examples to order the correct replacement part.
- Ruadigon Couplings: Where They Are Used, How to Select Them, Installation and Maintenance to Make Them Last
Ruadigon elastic couplings are a reliable solution for transmitting power between shafts, absorbing misalignments and vibrations. In this guide we explain how to choose them according to the application, install them correctly and maintain them to extend their service life.
Continue here
Need a RUADIGON quote?
Send us the RUADIGON part number, the size or a photo of the part and we will get back to you with a quote.